C3 provide a customised TeamViewer Quick Support agent for connecting to unmanaged devices. If you need remote support and you are not using a UNU managed device the application can be downloaded and run on a computer without admin privileges. To get started follow the instructions below.
Download the Quick Support agent
The TeamViewer Quick Support agent (for both Windows and macOS) is available from https://get.teamviewer.com/unu-c3.
Download and connect
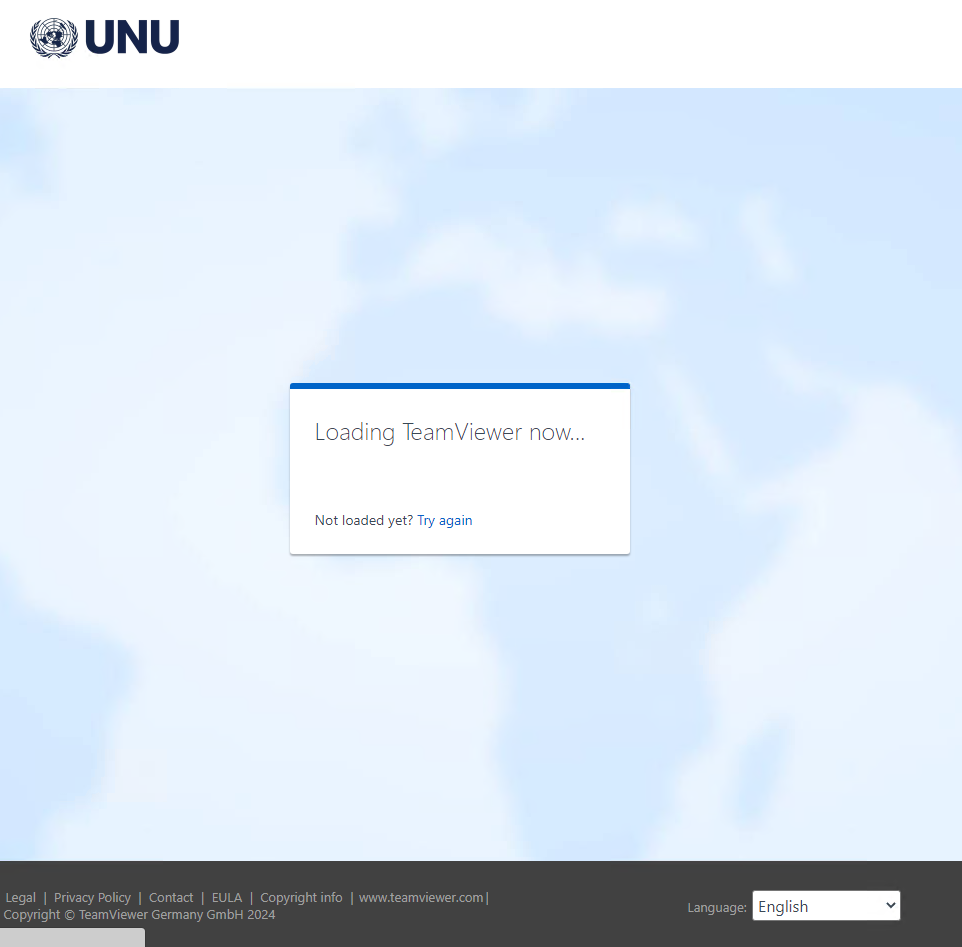
Start the download by clicking on https://get.teamviewer.com/unu-c3.
Depending on your browser settings you will either be prompted to save the file to a location or the download will start automatically.
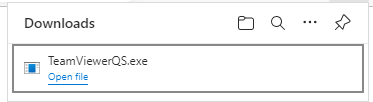
Once the download has completed, click on the Open File link to start the application.
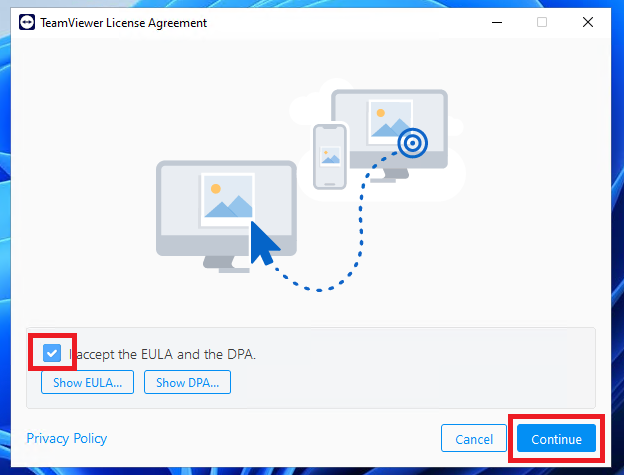
The first time you use the application on your computer you will need to accept the TeamViewer agreements. Click the checkbox and then click Continue.
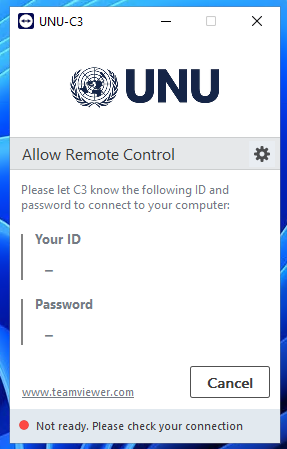
The TeamViewer agent will start. While it is connecting you will see the display below.
Once it is ready it will display an ID number and Password. The green light at the bottom of the window indicates that it is ready to accept a connection.
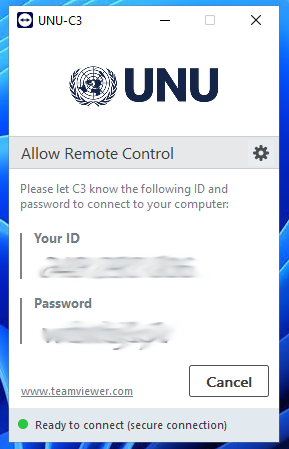
Take note of the ID and Password and share with C3. Make sure to close any windows or applications with private information.
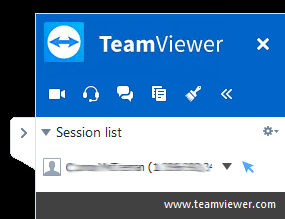
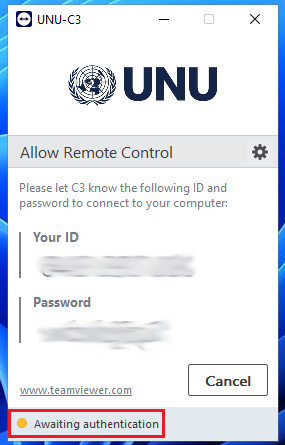
When a technician is connecting, the status will be displayed along the bottom of the TeamViewer application.
When a technician has successfully connected, a notification will be displayed in the lower right corner of your device with their information.